PickRV lifehack guide
RV photography — best angles for booking listings
- Sections
- 9
- Cited sources
- 4
- Depth
- Comprehensive
PickRV
Published by PickRV
RV photography for listings — best angles + composition (2026)
Host listings live or die on photos. The same rig with bad photos books 30-50% less than with great photos per industry conversion data. Below is the working playbook for host-quality RV photography — exterior angles, interior composition, lighting, what to include + exclude — so
- Equipment (no professional camera needed)
- Exterior angles — the standard 5
- Interior shots — the must-have 8
- Composition rules (industry-standard)
Equipment (no professional camera needed)
Modern smartphone (iPhone 13+ or Pixel 6+ or Samsung S22+) shoots equal or better than entry-level DSLR for online listings.
Tripod: $25-50 (phone tripod with phone mount). Essential for low-light + level horizon shots.
Wide-angle lens attachment: $15-30 (Moment + Olloclip phone-mount lenses). Helpful for interior shots in tight spaces.
Lighting: avoid built-in flash. Use natural daylight whenever possible. For interior shots in low light: open all curtains + turn on all RV interior lights.
Exterior angles — the standard 5
(1) Front 3/4 hero shot: 30° angle off the front, eye level with the windshield. Shows the rig's full silhouette.
(2) Rear 3/4: 30° angle off the rear. Shows the bed slide + awning + rear amenities.
(3) Side profile: 90° to the side, ground level. Shows length + height.
(4) Slide-out extended: with all slides deployed, 30° angle. Shows real interior capacity.
(5) Driver door + cab: shows driver experience.
- Front 3/4 hero: 30° off front, eye level windshield
- Rear 3/4: 30° off rear, shows awning + bed slide
- Side profile: 90° side, ground level, length + height
- Slides extended: 30° angle showing real interior expanse
- Driver door + cab: driver experience preview
Interior shots — the must-have 8
(1) Living area: from doorway, wide-angle showing entire living area.
(2) Kitchen: 45° angle showing counter + sink + stove + fridge.
(3) Dinette / table: showing seating + table extended.
(4) Bathroom: from doorway, showing shower + toilet + sink.
(5) Bedroom: from doorway, showing bed + storage + wardrobe.
(6) Bed close-up: showing mattress quality + linens.
(7) Storage: showing under-bed + wardrobe + cargo bays.
(8) Cockpit: showing driver's seat + steering wheel + dash.
Composition rules (industry-standard)
Rule of thirds: divide frame into 3x3 grid. Place subject on intersection lines, not center.
Level horizon: use phone's built-in level grid. Tilted horizons = amateur look.
Eye-level perspective: shoot AT the subject, not above or below.
Single subject focus: one main subject per shot. Don't cram 3-4 things into a single photo.
Lighting strategy (the make-or-break factor)
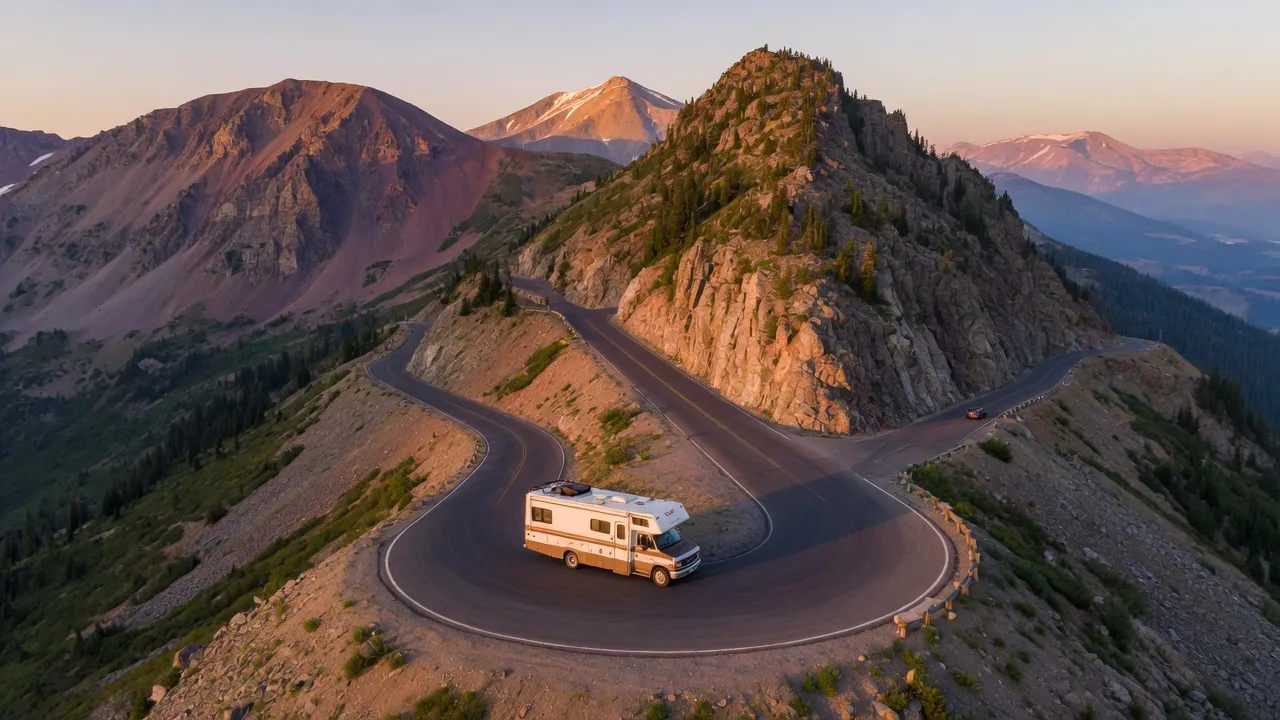
Golden hour: 1 hour after sunrise OR 1 hour before sunset. Warm, soft light. Best exterior shots.
Overcast: soft, even light. Good for interior + exterior shots without harsh shadows.
Avoid: harsh noon sun (creates shadows, washed-out colors), nighttime (looks dim + creepy without proper studio lighting).
Interior: turn ON all RV lights + open curtains. Shoot during daytime with windows providing additional natural light.
Campsite / location shots
Include 2-3 'in-context' shots showing the RV at a campsite, on the road, or near a scenic destination.
These help renters visualize their own trip + add emotional resonance to the listing.
Avoid: identifiable license plates (privacy/safety), recognizable home addresses, owner's family members in frame.
Photo editing (basic)
Adjust exposure: bring up shadows if dark areas underexposed.
Adjust white balance: warm = cozy, cool = sterile. Adjust to feel inviting.
Straighten horizon: built-in editor on iPhone Photos / Google Photos.
Crop: remove distracting edges. Tighter compositions feel more intentional.
Avoid: heavy filters, oversaturation, fake HDR effects.
Photo count + ordering
Minimum 15 photos per listing. Recommended: 20-30.
First photo (hero): front 3/4 exterior. Most important — drives initial click-through.
Photos 2-5: exterior angles + slide-extended.
Photos 6-15: interior (living, kitchen, bathroom, bedroom, storage).
Photos 16-20: campsite + amenities + dashboard.
Final photo: a 'thank you' or 'welcome' shot of the host (optional, builds trust).
What listing platform guides + photography blogs don't tell you
Under-shared truth #1: the first 3 photos drive 80% of click-through decisions per platform conversion data. Spend disproportionate time on hero + 2-3 + 4th shots. The remaining 17+ photos confirm but rarely drive initial click.
Under-shared truth #2: cleaning the rig BEFORE photography is the highest-leverage prep step. Dust on dashboard, water spots on windows, smudges on sinks all show in photos + lower perceived value. Spend 2 hours cleaning per 1 hour shooting.
Under-shared truth #3: include a 'realistic' interior shot (NOT staged), showing how the rig functions during real use — table set for meal, bed made comfortably, kitchen with light cooking visible. Hyper-staged 'showroom' photos feel less trustworthy than lived-in realistic shots.
Sources + citations
Continue your trip planning